
If you’re working with several different settings for Passport Photo, you can easily create desktop shortcuts that will cause Passport Photo to automatically open with the settings you want.
To do this, you’ll need to create a shortcut (which usually is placed on the desktop, or in a folder inside the desktop) with the following properties:
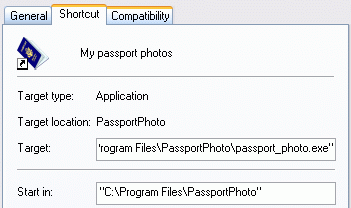
Target:
“C:Program FilesPassportPhotopassport_photo.exe” “settings_file.ini”
Start in:
“C:Program FilesPassportPhoto”
If you’ve installed Passport Photo in a different folder than “C:Program FilesPassportPhoto”, you’ll need to change it in the paths above.
How do I create this shortcut?
You can start from scratch, or copy the existing Passport Photo icon, and just modify it. Because it’s much easier to copy and add what you need, we’ll start with this.
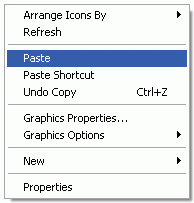
| 1) Right click on the Passport Photo icon, and select Copy. | 2) Right click on the desktop and Paste a copy of the program icon. |
 |
| 3) Rename the new desktop icon – give it a meaningful name. |
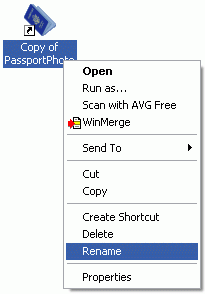 |
| 4) Right click on the new icon, select Properties and add the settings file to the Target field. It’s a good idea to place the name of the .ini file in quotes. To find the full path of the .ini file, open Microsoft Explorer, go to the My DocumetsPassport Photo settings and select the folder name. Then, copy the location from the address ie “C:Documents and SettingsYOURUSERMy DocumentsPassportPhoto settingsYOURCONFIG.ini” where YOURUSER is your user name and YOURCONFIG.ini is the ini file and paste it to the shortcut’s target so that it reads: “C:Program FilesPassportPhotopassport_photo.exe” “C:Documents and SettingsYOURUSERMy DocumentsPassportPhoto settingsYOURCONFIG.ini” |
 |
That’s it. Now you can just double click on the new icon and Passport Photo automatically opens the settings you’ve selected.